
This post contains affiliate links.
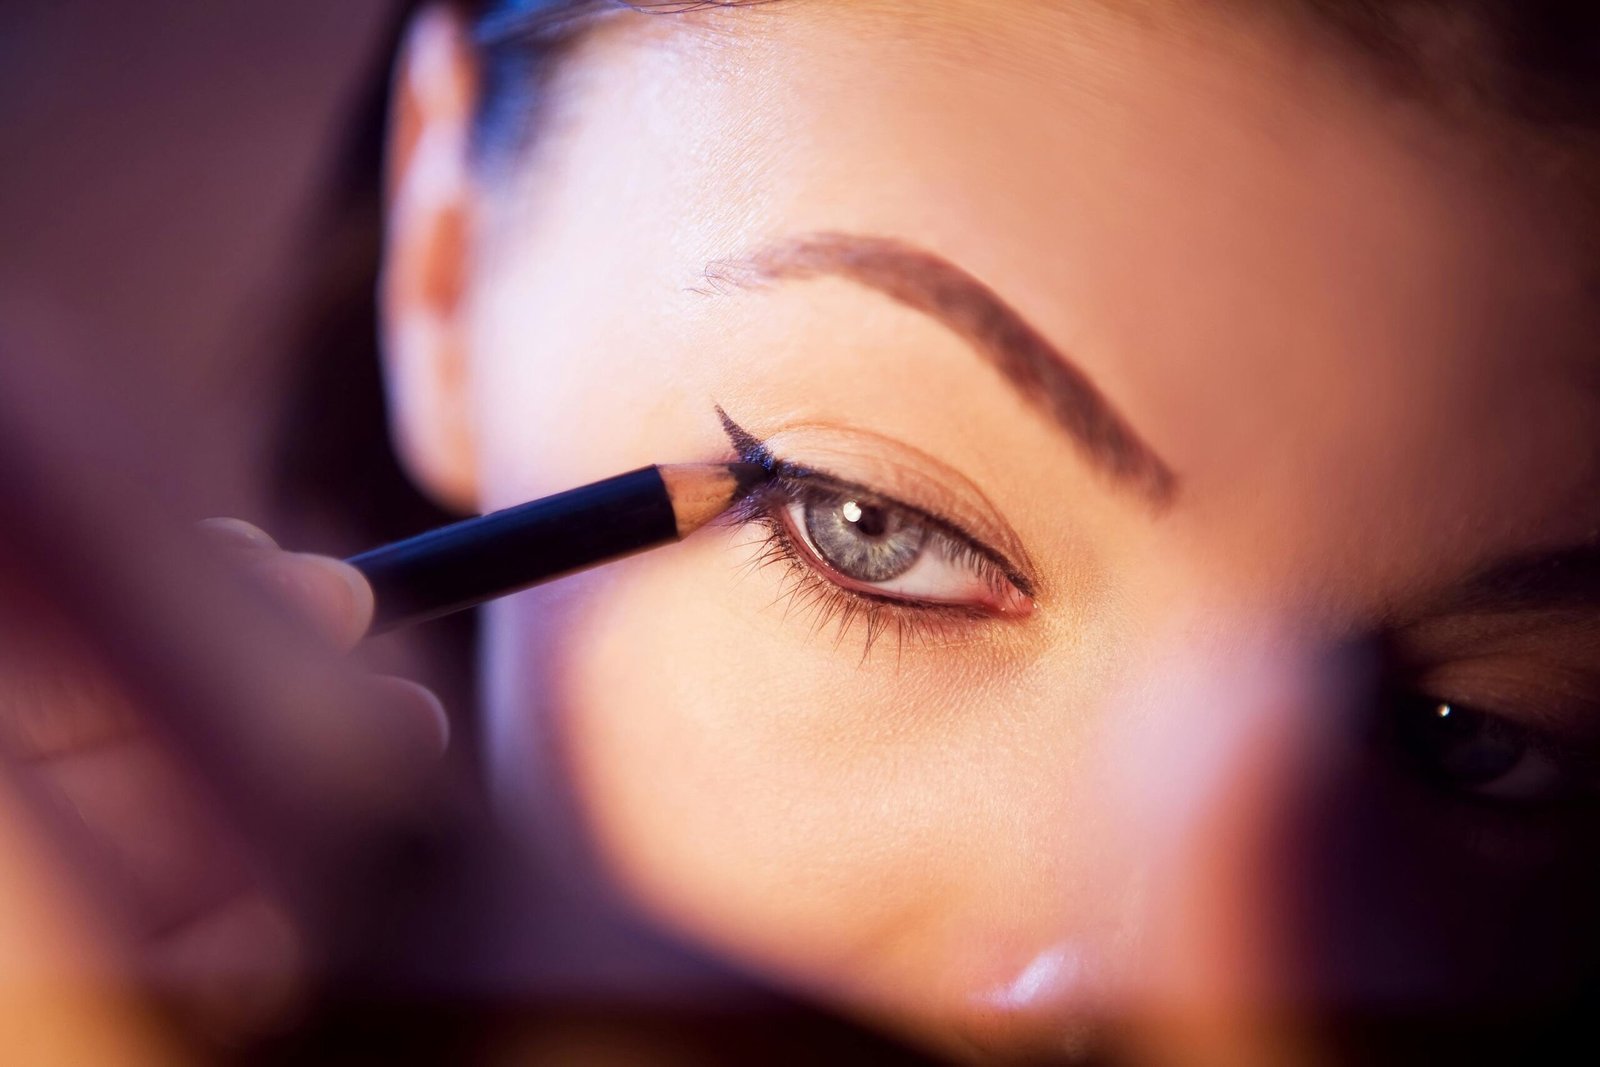
Getting your winged eyeliner just right feels like a mini beauty win. Whether you’re heading out for the night or just adding a little flair to your daily routine, learning how to apply winged eyeliner the right way can seriously change the game.
Speaking from experience (yes, I used to mess it up all the time), it’s not just about a steady hand. It’s knowing your eye shape, using the right tools, and nailing down a technique that actually works for you.
If your wings always end up uneven or smudgy, don’t stress. These 9 simple tips will walk you through how to apply winged eyeliner even if you are a total beginner.
How to Apply Winged Eyeliner
1. Start with a Clean, Primed Eyelid
Before you even touch your eyeliner, make sure your eyelids are clean and dry. Oily lids are one of the main reasons eyeliner ends up smudging or fading. I like to use a light eyeshadow primer or just tap on a bit of concealer and set it with translucent powder. It gives the liner something to stick to and helps it last all day.
Pro Tip: If you want your wing to stay sharp and smudge-free, a fresh, oil-free base makes all the difference.
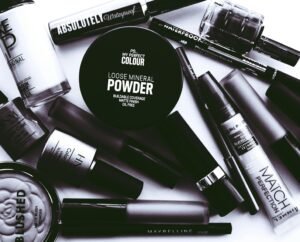
2. Choose the Right Eyeliner for You
There are a few different types of eyeliners out there:
Liquid eyeliner
Gel eyeliner
Pencil eyeliner
Pen eyeliner
If you’re just getting the hang of how to apply winged eyeliner, a felt-tip pen liner is the way to go. It gives you more control, less mess, and a clean line without the pressure of using a brush.
Pro tip: For bold, jet-black wings, try a liquid liner with a brush tip. If you’re after something softer and more blended, a gel formula with a slanted brush is your best bet.
3. Know Your Eye Shape
Knowing your eye shape makes all the difference when you’re learning how to apply winged eyeliner that actually suits you. It’s the first step to getting a wing that works with your features, not against them.
This tip made a huge difference for me. I have slightly hooded eyes and for years I followed tutorials made for almond or wide-set eyes. The result was that wings that looked decent with my eyes closed, but as soon as I blinked, they either vanished or looked totally off.
If you have:
- Hooded eyes: Keep the wing thin and let it extend just slightly outward, not upward. A light subtle flick that follows your lower lash line works way better for most eye shapes, especially for hooded or round eyes.
- Almond eyes: If you have almond eyes, you’re in luck, trust me almost every winged eyeliner style flatters your shape.
- Round eyes: Go for thinner lines along the upper lid and pull the wing outward to create balance. It keeps the look soft while making your eyes appear more lifted.
4. Map Out Your Wing First
Instead of jumping straight in, I like to sketch a guide first. Take your liner and lightly draw a line from the outer corner of your eye toward the tail of your brow—that’s your wing’s path. Then, connect it back to your lash line to form a small triangle.
You can always fill it in afterward, but mapping it out first helps keep both sides even.
Pro tip: Use a tiny dot or a pencil liner to mark where each wing should end. It makes the whole thing look way more balanced.
5. Rest Your Elbow for Stability
This little trick helped me so much especially when my hands used to shake. Rest your elbow on a flat surface and place your pinky against your cheek for extra control. It keeps your hand steady and your lines clean.
Bonus tip: Hold a small mirror below your chin and look down into it while applying. This angle gently stretches your lid and makes everything go on smoother.
6. Start Thin and Build Gradually
One of the biggest mistakes I made when learning how to apply winged eyeliner was starting off too thick. Once the line is heavy, fixing it gets tricky. Now, I always begin with the thinnest line possible right along the upper lash line and only build it up if I need to.
It gives you way more room to fix little slip-ups and keeps the overall look soft and polished.
7. Use Tape or a Card for a Perfect Edge
If freehanding your wing still feels intimidating, grab a small piece of tape or even a business card. Line it up from the outer corner of your eye to the tail of your brow and use it as a guide.
Once your liner is on, peel it off and just like that, you’ve got a crisp and clean wing.
Personal tip: I like using medical tape since it’s gentler on the skin. I dab it on the back of my hand first so it’s not too sticky when it goes near my eyes.
8. Clean Up Mistakes with a Q-Tip & Concealer
No matter how experienced you are, slip-ups still happen especially when you’re rushing. That’s why I always keep a pointed Q-tip and a bit of concealer nearby. Dip the Q-tip into micellar water or eye makeup remover and lightly clean up any uneven edges.
Then, dab on a little concealer around the wing to sharpen the line and make the whole look stand out.
9. Seal Your Look with Mascara (and Optional Falsies)
Once your wings are just right, swipe on a lengthening or volumizing mascara to lift your eyes and pull the whole look together. Heading out or want something a bit bolder? Pop on a pair of light lashes.
Pair your winged eyeliner with the right nude lip to keep things balanced and effortlessly chic. If you’re not sure which shade works for you, check out my guide to finding the perfect nude lipstick.
FAQs on How to Apply Winged Eyeliner
1. How long does it take to learn how to apply winged eyeliner?
It really depends. Some people get the hang of it in a week, while others (like me) take a few months. The key is staying consistent and understanding your eye shape.
2. Should I apply eyeliner before or after eyeshadow?
If you’re going for a bold eyeshadow look, apply your liner afterward so it sits cleanly on top. But if you’re keeping it soft with natural or nude shades, you can line first and tweak it later if needed.
3. Can I apply winged eyeliner on mature or wrinkled lids?
Absolutely! Just go with a gel liner and use short, light strokes. You might need to gently lift your eyelid to create a smoother surface and it really helps with precision.
4. How do I remove eyeliner without tugging my eyes?
Use an oil-based remover or micellar water and press a cotton pad over your closed eye for a few seconds. Then gently wipe it away, no rubbing needed.
5. What’s the best eyeliner for sensitive eyes?
Look for hypoallergenic or ophthalmologist-tested liners like Clinique or Almay. They’re great for sensitive eyes. And if waterproof formulas tend to sting or cause irritation, it’s totally okay to skip them.
Final Thoughts
Learning how to apply winged eyeliner can feel a little overwhelming at first, but trust me it really gets easier. Like anything else, it just takes some patience and a bit of trial and error. Also finding what really works for your eyes. Everything I shared here comes from my own journey, filled with smudges, shaky hands, and plenty of do-overs.
So next time you’re in front of the mirror with a liner in hand, just remember: your perfect wing is only a few flicks away.
This post contains affiliate links.


Pingback: Mascara Cocktailing to Make Your Lashes Pop: 8 Tips & Tricks
Pingback: How to Do the Sultry Dark Siren Makeup