
Dark Siren makeup is bold, dramatic, and all about standing out. If you’re ready to channel sultry, mysterious vibes and play with edgy, moody tones, you’re in the right place. Let’s dive into the guide and get you nailing the Dark Siren look step by step.
Step-by-Step Dark Siren Makeup Tutorial
Step 1: Prep with a Primer
The first step is applying a primer. For this look, a dull or flat primer won’t work, you need one with a glowy base. A luminous primer adds the necessary dimension to the skin and complements the overall finish of the makeup.
Primer plays a key role in extending makeup wear, which is especially helpful for oily skin. For a dark siren makeup look, primer isn’t optional, it’s essential for long-lasting wear and that subtle glow underneath.
Apply it evenly across the face, including the eyes, paying special attention to the T-zone and areas where makeup tends to fade first.
Step 2: Create a Flawless Base
Apply your foundation evenly using a damp beauty sponge or brush, keeping the finish smooth and controlled rather than overly luminous.
When adding dimension, opt for a cool-toned contour instead of bronzer. Cooler shades create definition without warmth, which keeps the overall look sharp and intentional rather than soft or sun-kissed.
Use it to sculpt the cheekbones, jawline, and temples, blending thoroughly to avoid harsh edges. Try not to overbuild at this stage, excess product can quickly turn definition muddy, especially under low lighting.
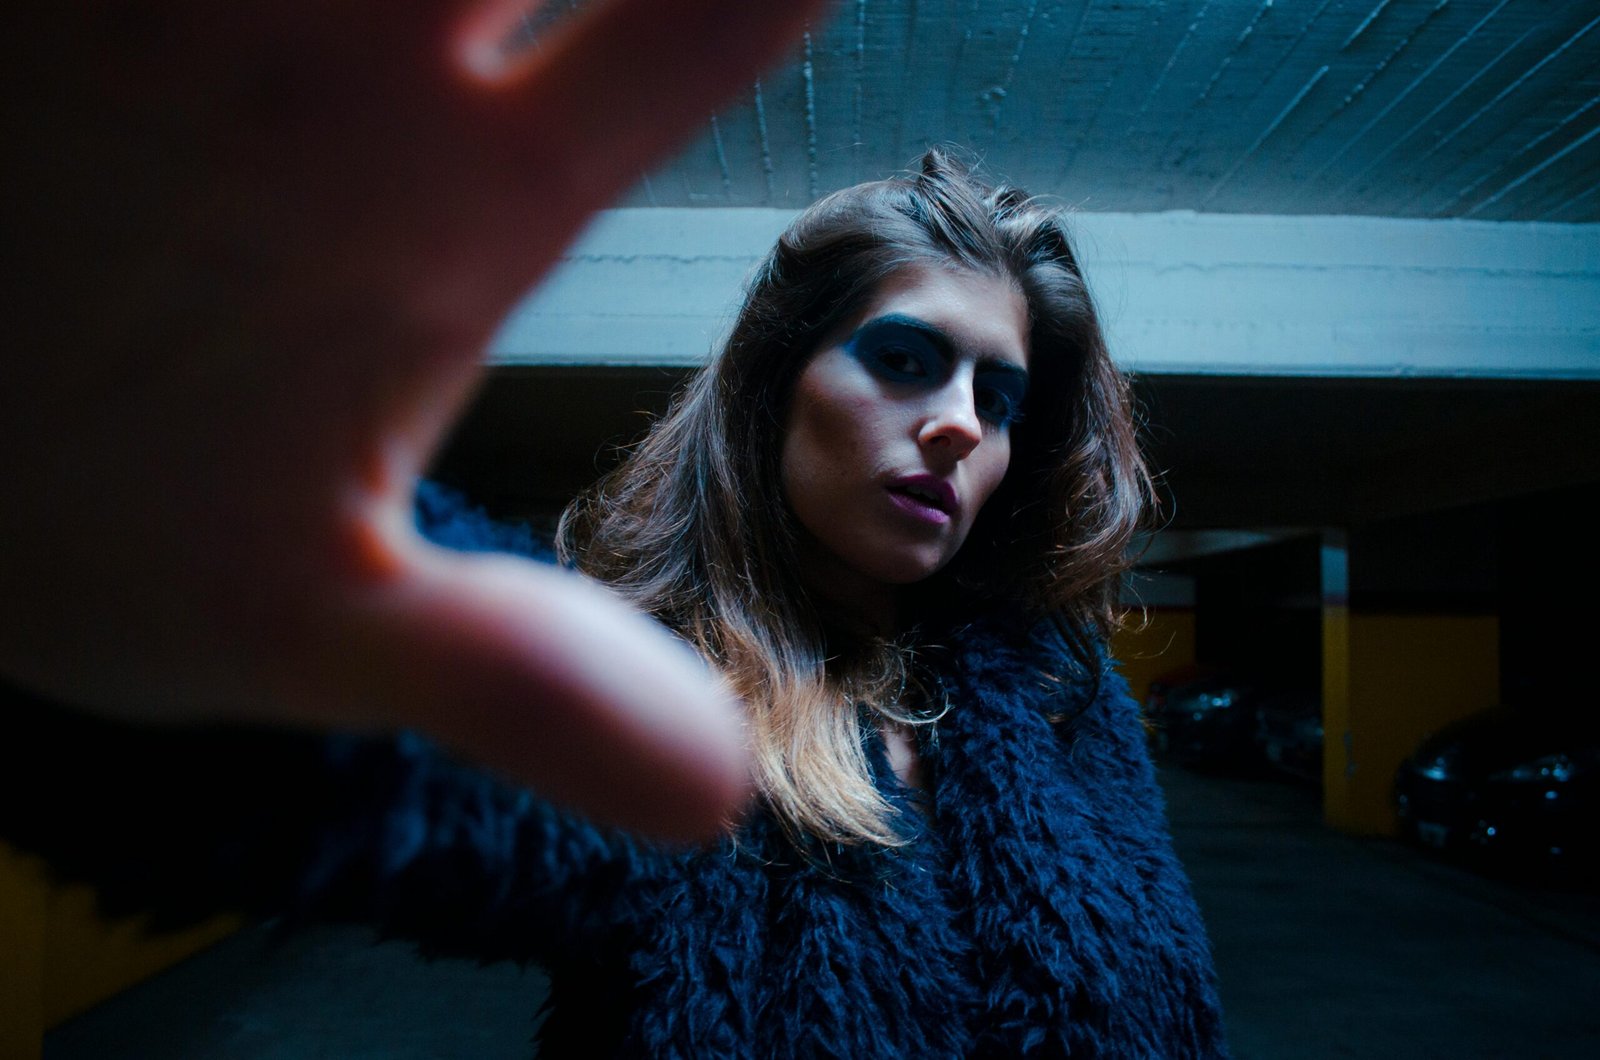
Step 3: How to get the dark siren eye look
The eyes are the main focus of the dark siren look. I’ve practiced this step many times before getting the elongated shape right, but the good part is that this look doesn’t need perfect blending to work. It’s meant to feel a little grungy, so beginners don’t need to stress over super clean lines.
If your eye area pulls warm, this look can easily turn muddy. Using an eye depuffer or cooling eye gel about 20–30 minutes before makeup helps reduce puffiness and gives a smoother base for darker shades to sit properly.
I usually go for deep emerald, charcoal, or plum. Pick one shade and apply it as your base on the eyelids, then blend it outward instead of upward — this is what keeps the eyes looking longer.
After that, add a subtle shimmer or metallic shade either in the center or on the inner lid to give a light-reflecting effect. Use a brush meant for precise placement so the shimmer stays controlled.
Step 4: How to apply the elongated siren eyeline
When it’s time for eyeliner, focus on placement and control. The goal isn’t to flick the liner upward on the outer corner, stretch it along the lash line instead. There’s no exact limit on how far; just follow what looks good with your face. You can also extend a little on the inner corner.
If you have hooded or round eyes, going too far can make them look smaller, so take it slow. I like to keep the line as sharp as possible. If it gets messy, I just dab a bit of micellar water on a cotton swab and swipe along the edges, it cleans up any gel or liquid liner mistakes easily.
Step 5: Do Your Lashes
Next, I apply a few coats of mascara on my upper and lower lashes. If I want maximum drama, sure I do go for wispy false lashes, it simply amplifies the elongated look of the eye.
Step 6: Time to contour and highlight
The next step is to sculpt your face by contouring. Apply cream contour on top of your foundation to create a more chiseled look. You can use any form of contour you have, but the stick contour is more beginner-friendly.
Follow with highlighter on the high points of your face. You can use either liquid or cream; for me, cream tends to stay longer and blend nicely.
Step 7: Defining the Lips
The dark siren look calls for bold lips, but you can customize the color depending on your vibe. I personally like pairing dark eyes with a nude lipstick without a lip liner, then adding a layer of clear gloss on top.
The contrast of black eyes and nude lips gives a different feel from the classic dark siren, which emphasizes dark-colored lips and uses a lip liner for definition.
If you prefer the classic look, start by lining your lips with a shade that matches or is slightly darker than your lipstick. Then fill in with your lipstick of choice.
If nude isn’t your thing, go for burgundy or other dark shades. Matte or glossy depends on the look you want. For a softer effect, lightly dab the center of your lips with your finger to blend.
Step 8: Final touch
Finish everything with a setting spray of your choice. I personally don’t like using a luminous setting spray, it just ruins the look for me. It makes the whole face glow with no contrast and can flatten the definition you worked so hard to create.
The luminous primer we used already gives a subtle, sophisticated sheen from within, so adding glow on top makes the face look basic and takes away precision. I usually go for a regular setting spray to lock everything in without messing the look.
Few Handy Tips
The Dark Siren makeup look isn’t just a trend, it’s a way to show off your confident side. This tutorial gives you everything you need, but don’t just follow it blindly. Play around with different colors, tweak the steps to your style, and make the look your own. Whether you’re taking inspiration from Charli XCX or coming up with your own sea witch vibe, this Dark Siren look will definitely turn heads.